Finding the Right Macro Lens for DSLR Film Scanning
Disclaimer: The following discussion about macro lenses is all opinion and just my thoughts on a process that I barely know anything about. Don’t quote me…but if you do - link my page :)
When I built my DIY copy stand, I knew it wouldn’t mean much without the right lens. Camera scanning lives or dies by precision — and that precision starts with a macro lens that can hold sharpness, alignment, and consistency across the frame.
This post walks through why a macro lens is essential, what I was looking for, and how I landed on the classic Nikon 55mm f/2.8 Ai-S Micro-Nikkor — including the additional gear needed to make it work with my Canon mirrorless camera.
Why You Need a Macro Lens for Scanning
Not all lenses are created equal — especially when you’re photographing a flat subject like a film negative.
Here’s what a macro lens brings to the table:
✅ 1:1 magnification (life-size reproduction of your negative)
✅ Flat field rendering (keeps the corners just as sharp as the center)
✅ Minimal distortion (important for accurate framing and grain detail)
✅ Close focusing distance (you don’t need a giant setup)
Without a proper macro lens, even the sharpest full-frame prime won’t deliver the consistency needed for high-quality film scans. Regular lenses aren’t optimized to stay sharp at such close distances.
My Search Criteria
I approached this lens choice with a few non-negotiables:
True 1:1 reproduction — not 1:2, not close enough, but actual life-size magnification
Flat field sharpness — no field curvature or corner falloff
Manual focus control — autofocus is useless this close
Reasonable price — ideally something I could find used
Size and compatibility — had to work well on the copy stand and with my macro rail
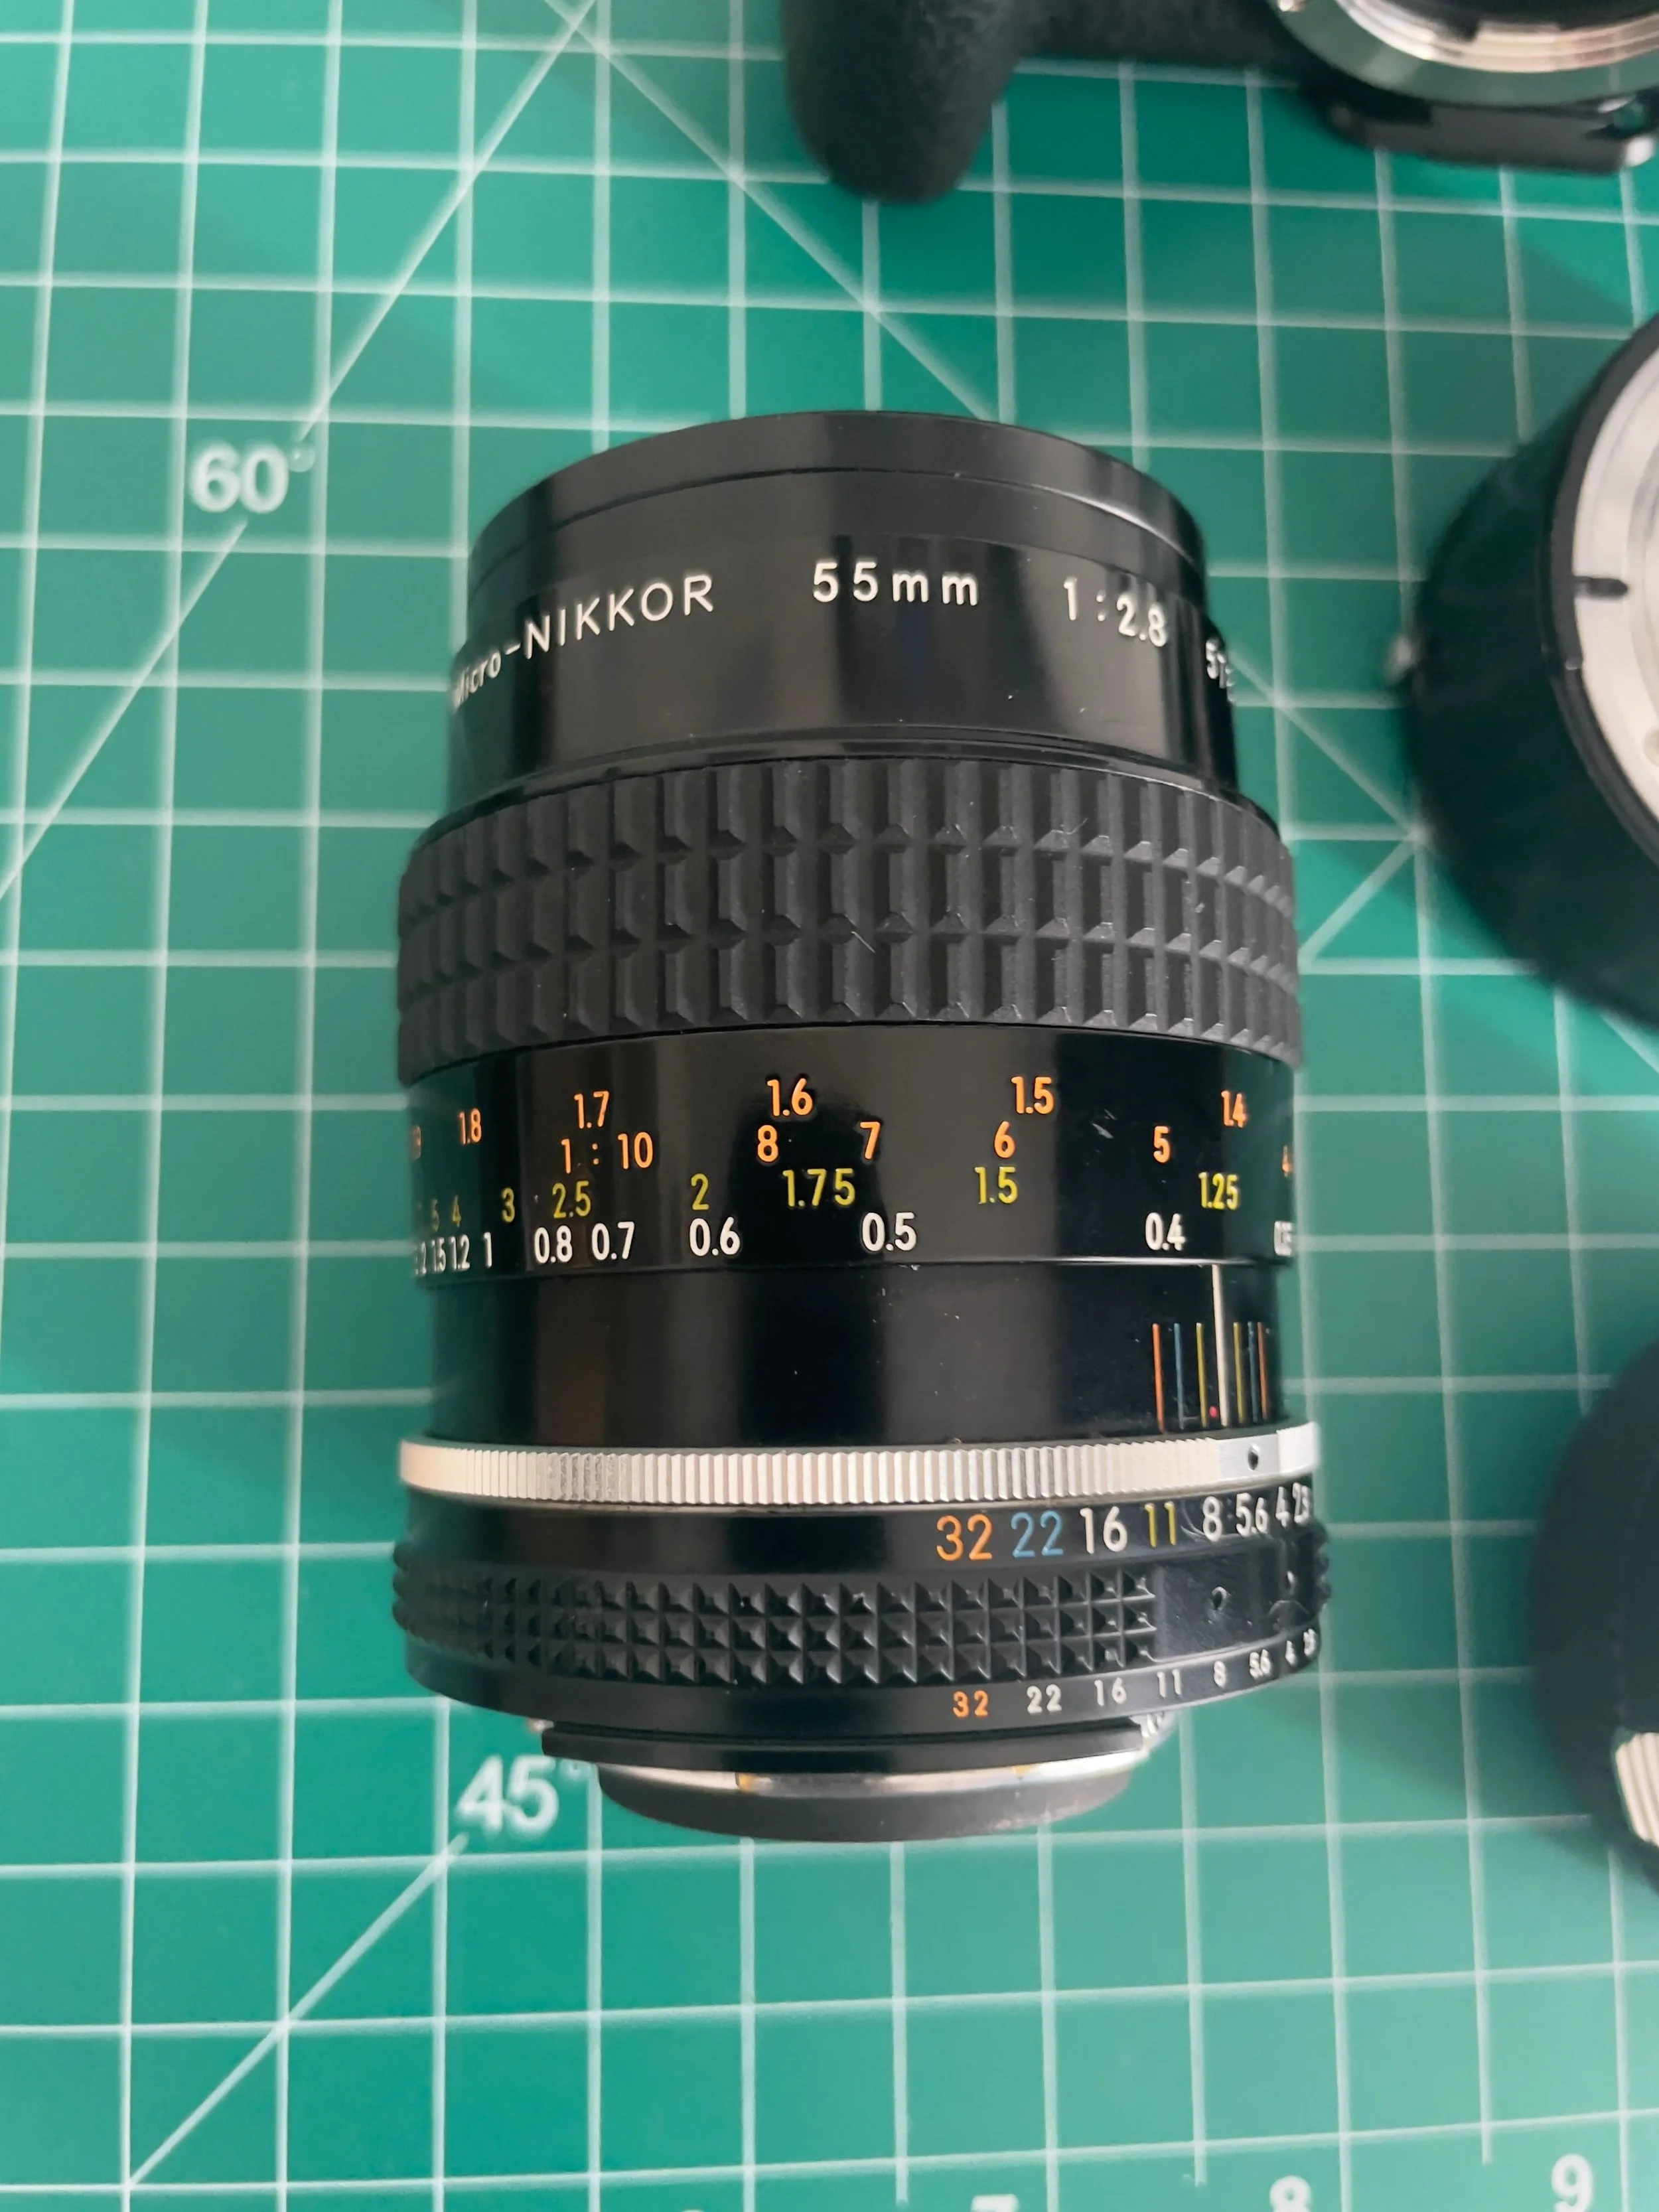
What I Chose: Nikon 55mm f/2.8 Ai-S Micro-Nikkor
After reading reviews and comparing test images, I went with the Nikon 55mm f/2.8 Ai-S Micro-Nikkor, one of the most respected classic macro lenses. It’s been used for everything from slide copying to precision reproduction and microscopy-adjacent work.

Why I Picked It:
Excellent cost-to-quality ratio
Available used in good condition
Sharp even wide open
Built like a tank
But it needs some help to get to 1:1...
Full Setup Breakdown
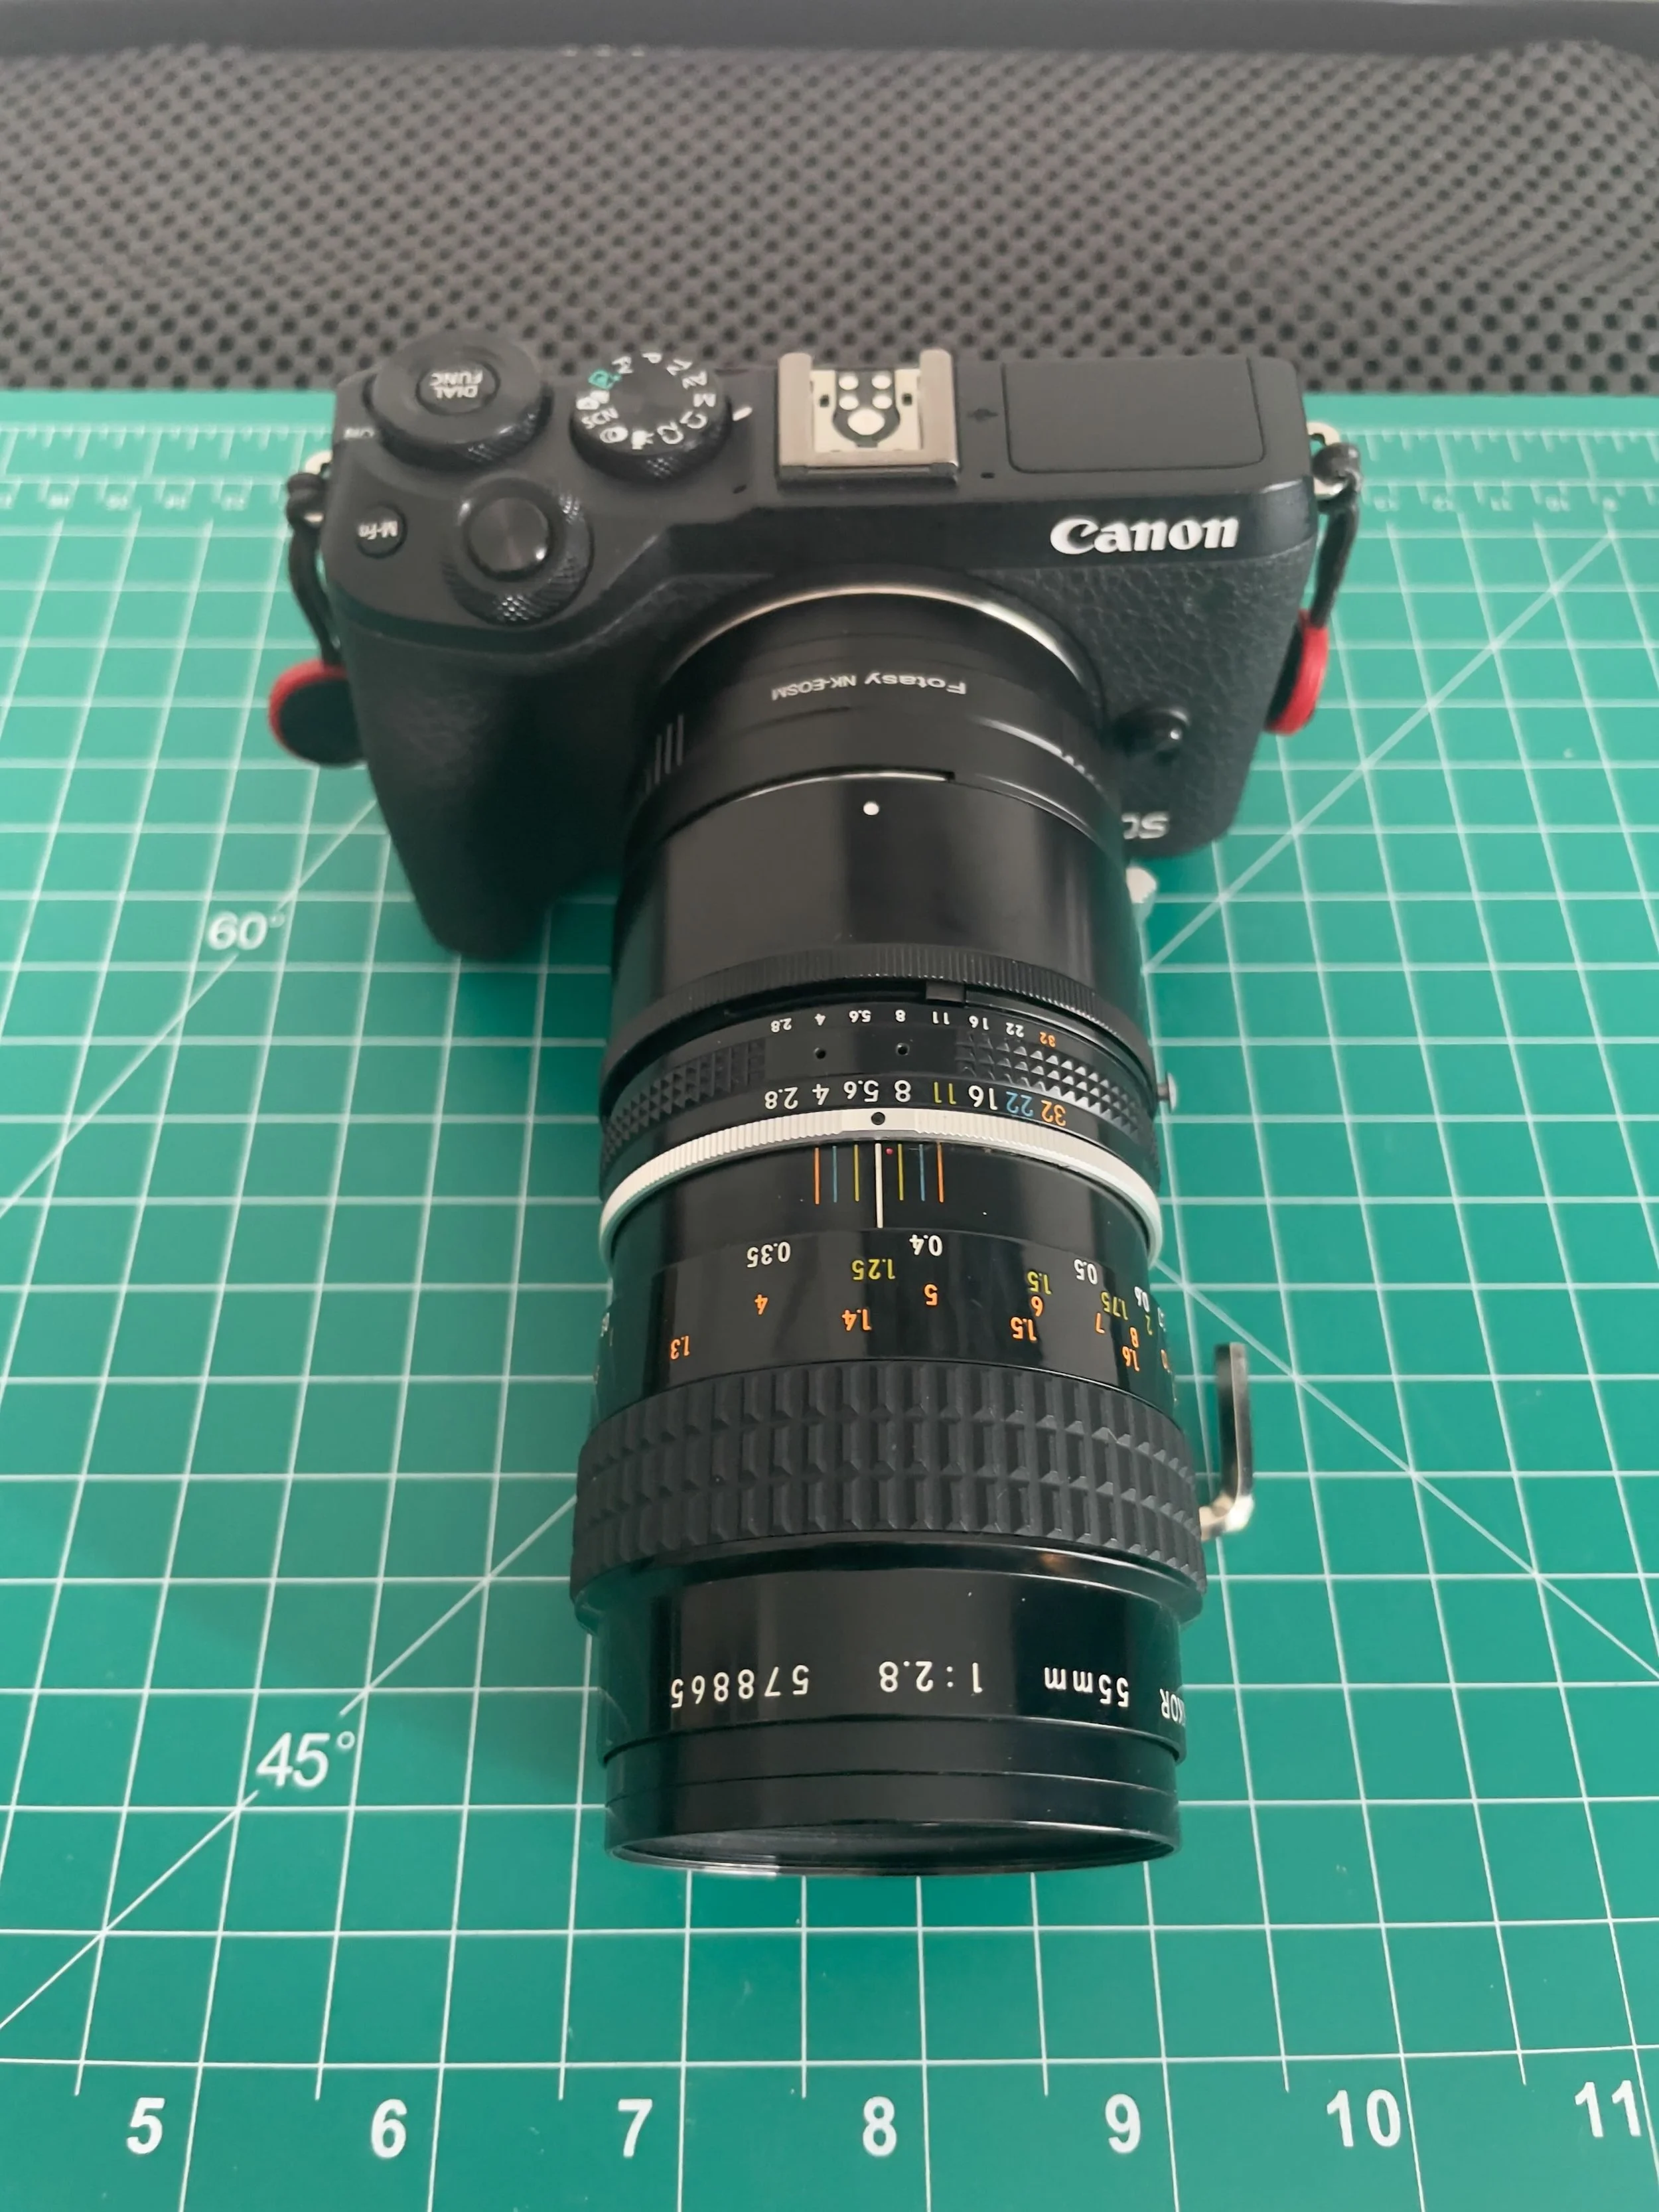
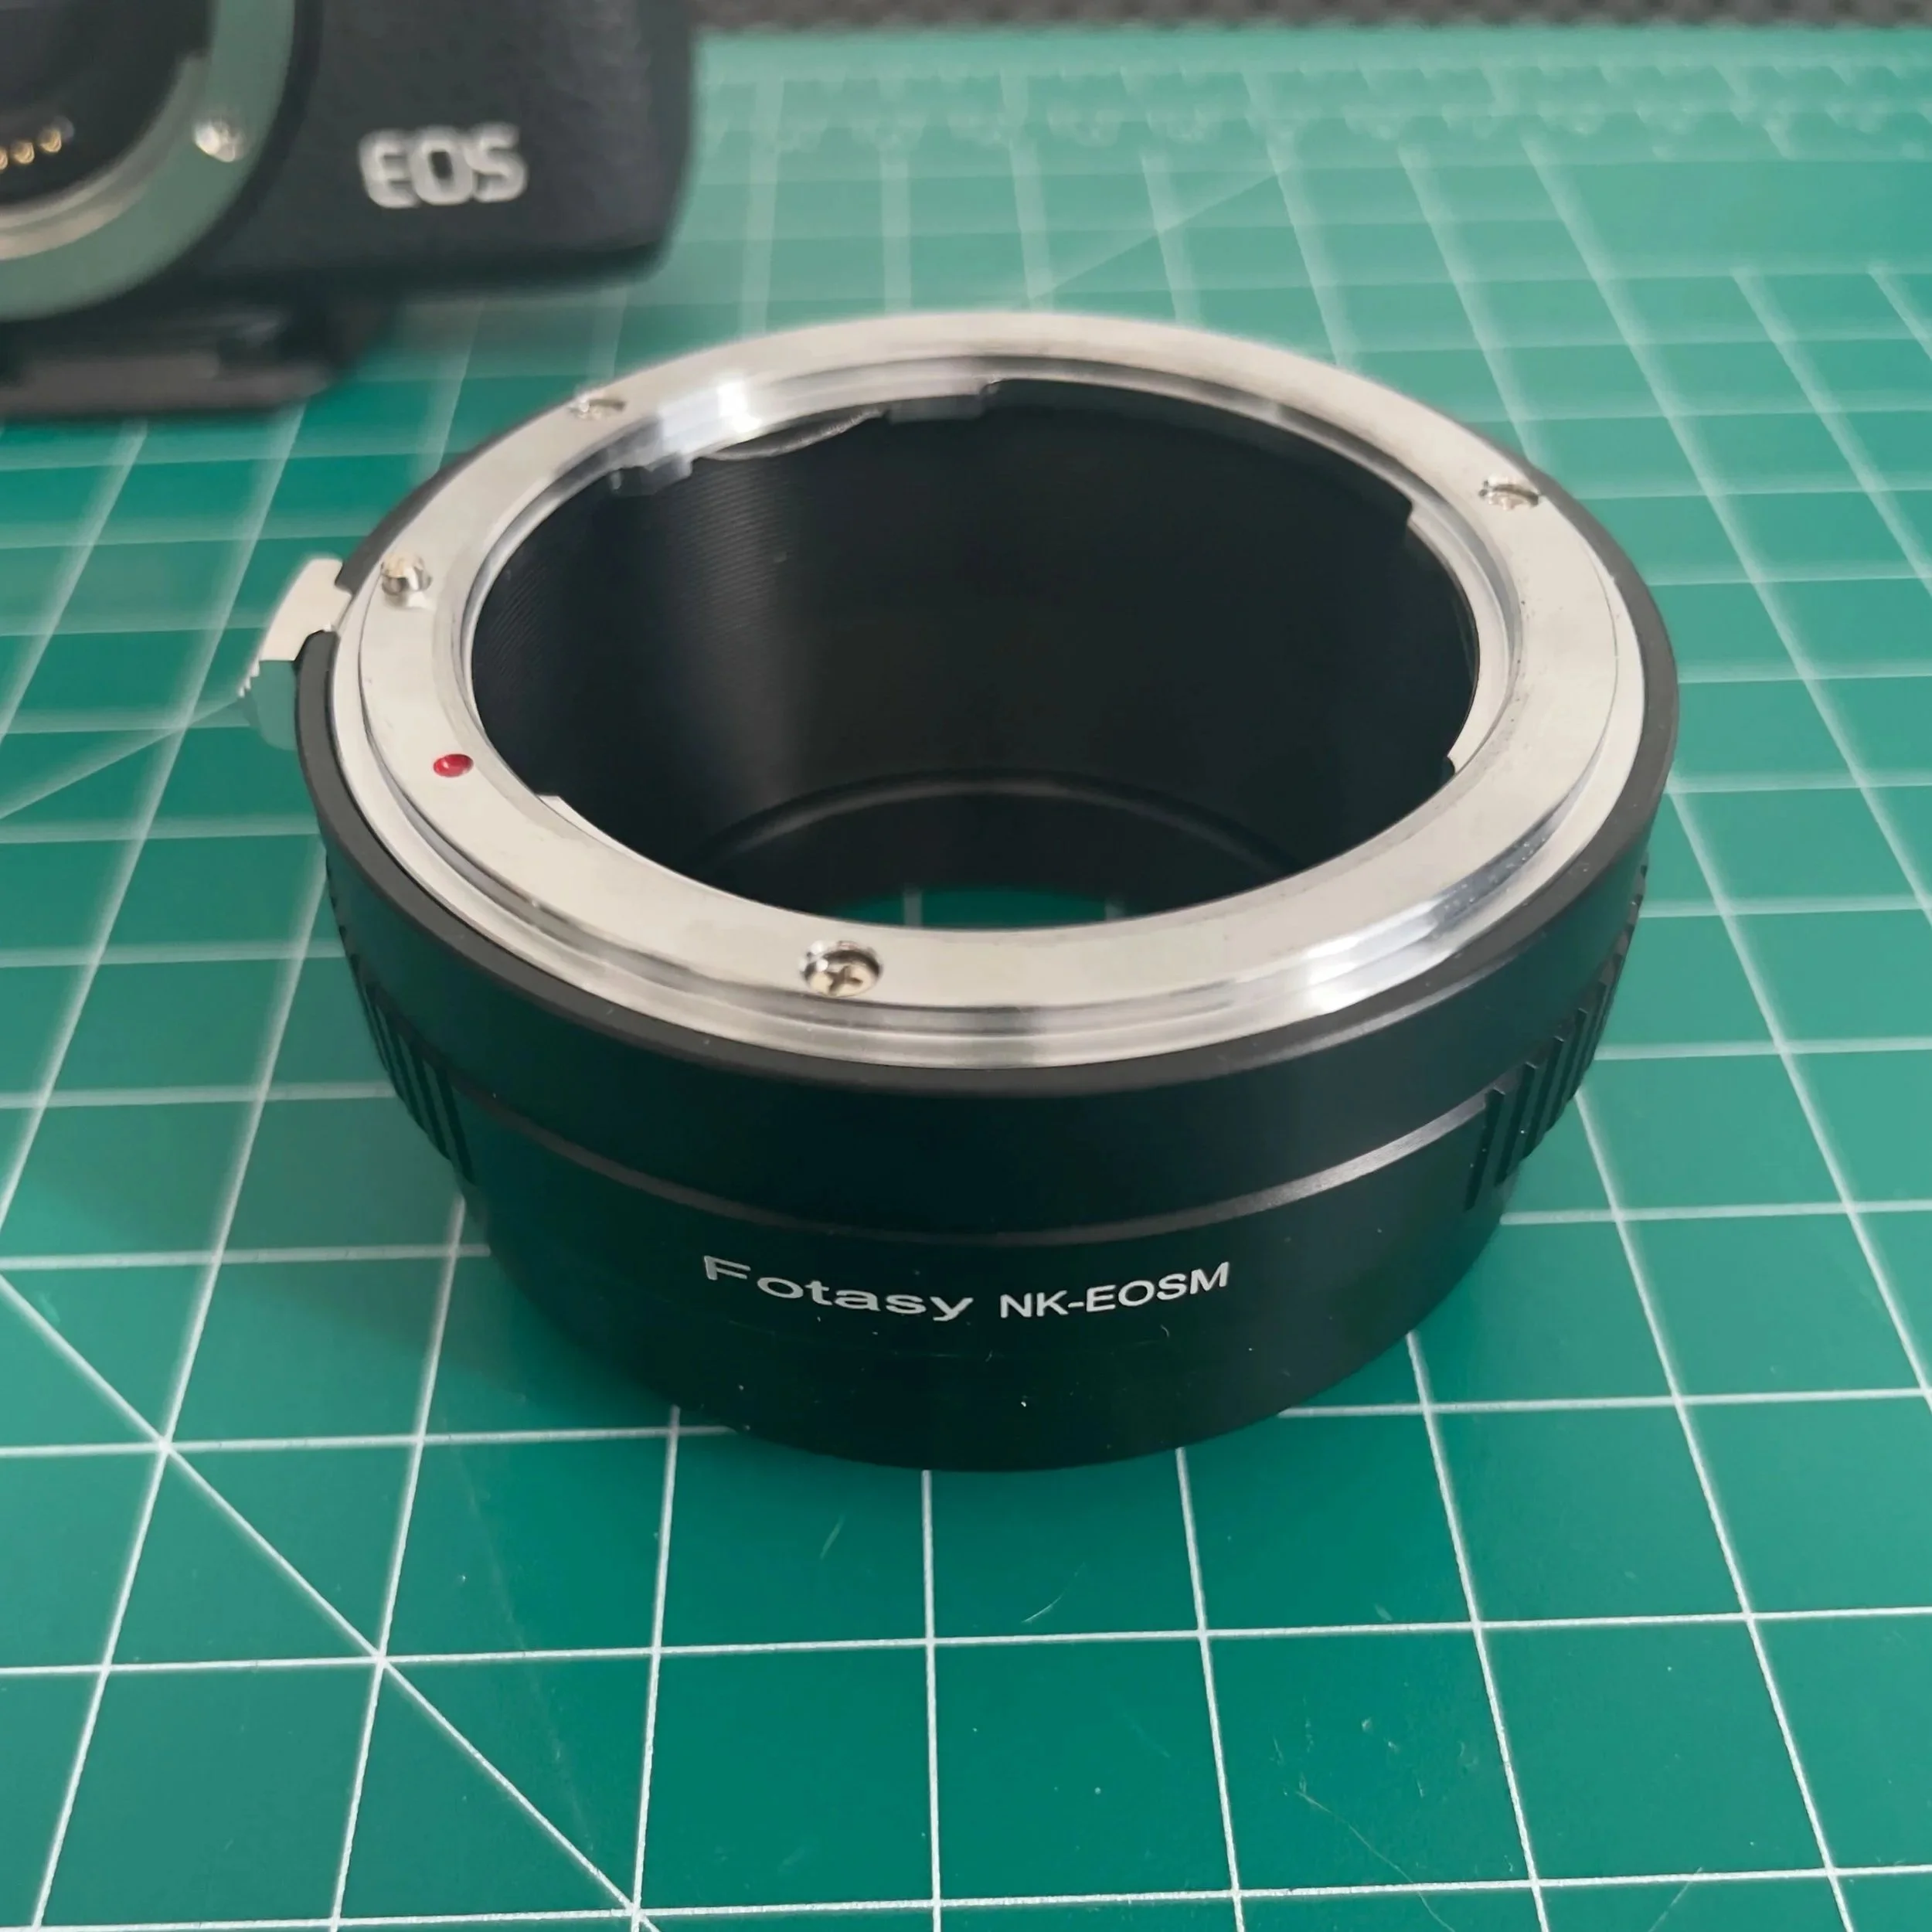
At the time, I was scanning with a Canon EOS M6 Mark II — an APS-C mirrorless camera. That meant adapting the Nikon lens to Canon's mount and using the right extension tube to reach 1:1 magnification.
Here’s the full chain:
Lens: Nikon 55mm f/2.8 Ai-S Micro-Nikkor
Extension Tube: Nikon PK-13 (27.5mm) — required for true 1:1
Adapter: Nikon F to Canon EF-M
Camera: Canon EOS M6 Mark II (32.5MP APS-C)
Mounted on: Koolehaoda 180mm Macro Rail, attached to copy stand
This setup gave me plenty of resolution, excellent edge-to-edge clarity, and enough working distance to comfortably position my film holder and lighting.
But... Manual Focus Is No Joke
Here’s where things get tricky: focusing this lens for scanning is tedious.
It’s a fully manual lens with a long, slow focus throw — and at macro distances, even tiny misalignments throw off sharpness. To make things harder, many users (and now me) report that the focusing helicoid can become stiff over time, especially as lubricants dry out.
From other users:
“The focus ring feels like turning cold molasses.” – Photrio
“You almost always need to move the whole camera, not just refocus — which makes a macro rail nearly essential.” – Reddit
That’s exactly what I experienced. Precise focusing required both:
Focus peaking in live view mode
Fine adjustments via the macro rail — not the lens ring itself
If you’re planning to use this lens, I strongly recommend using a solid macro rail like the Koolehaoda or similar.
Real-World Test Notes
Once mounted and squared up, I ran some test scans of 35mm negatives.
What I observed:
Incredible sharpness, even on the APS-C sensor
Flat field performance was excellent — no corner softness
Color rendering was neutral and easy to work with
Focusing, again, was the slowest part of the workflow
[Future Steven Note] I’ve since learned that you can set the 1:1 magnification using guides on the lens. The actual focusing is then done by moving the camera closer or further from the negative, but not by turning the focusing wheel. I’m planning to upgrade to a macro rail with a focusing slider for micro-adjustments. Currently, I have to unscrew the mount from the macro rail and try to make tiny up/down adjustments, which isn’t ideal.
But once dialed in, the scans looked fantastic and required very little correction in post.
Final Thoughts
The Nikon 55mm f/2.8 Ai-S + PK-13 combo is one of the best values out there for camera scanning. It’s not modern or flashy, but it gets the job done — as long as you have patience, a macro rail, and a steady setup.
If you're building your own scanning workflow, I’d recommend:
Starting with a flat-field 1:1 macro lens
Expecting to use manual focus 100% of the time
Budgeting for a macro rail and solid tripod or copy stand
Testing your full system before batch-scanning a film archive
Up Next
In the next post, I’ll share my early experiences with 3D-printed film holders, my light source setup, and first test scans — including what didn’t go as planned.
— Steven
Hollyridge Photography
Follow us on Instagram or Facebook. Check our Print Shop for prints and our Etsy Store for digital downloads.