Finding the Light…Source (and 3D Printed Film Holders)
Disclaimer: The following discussion about film holders, 3D printing, and light sources is all opinion and just my thoughts on a process that I barely know anything about. Don’t quote me…but if you do - link my page :)
After building my copy stand and selecting a macro lens, it was time to add two more critical pieces: a film holder and a light source. Rather than jumping straight into costly branded accessories, I decided to start with a DIY approach — 3D printing my own holder.
This post covers what worked, what didn’t, and what I learned after scanning my first negatives.
3D Printing My First Film Holders
For my first attempt, I used an open-source design from Thingiverse: 35mm Film Holder for Camera Scanning. I had the parts printed through Craftcloud, which allowed me to choose the material and finish without owning my own printer.
The design was lightweight, affordable, and modular — with the option to modify or replace individual parts later.
Why I Started with 3D Prints:
Much cheaper than commercial holders
Easy to prototype and test different designs
No specialized tools required
Plenty of free designs available online
The Holders
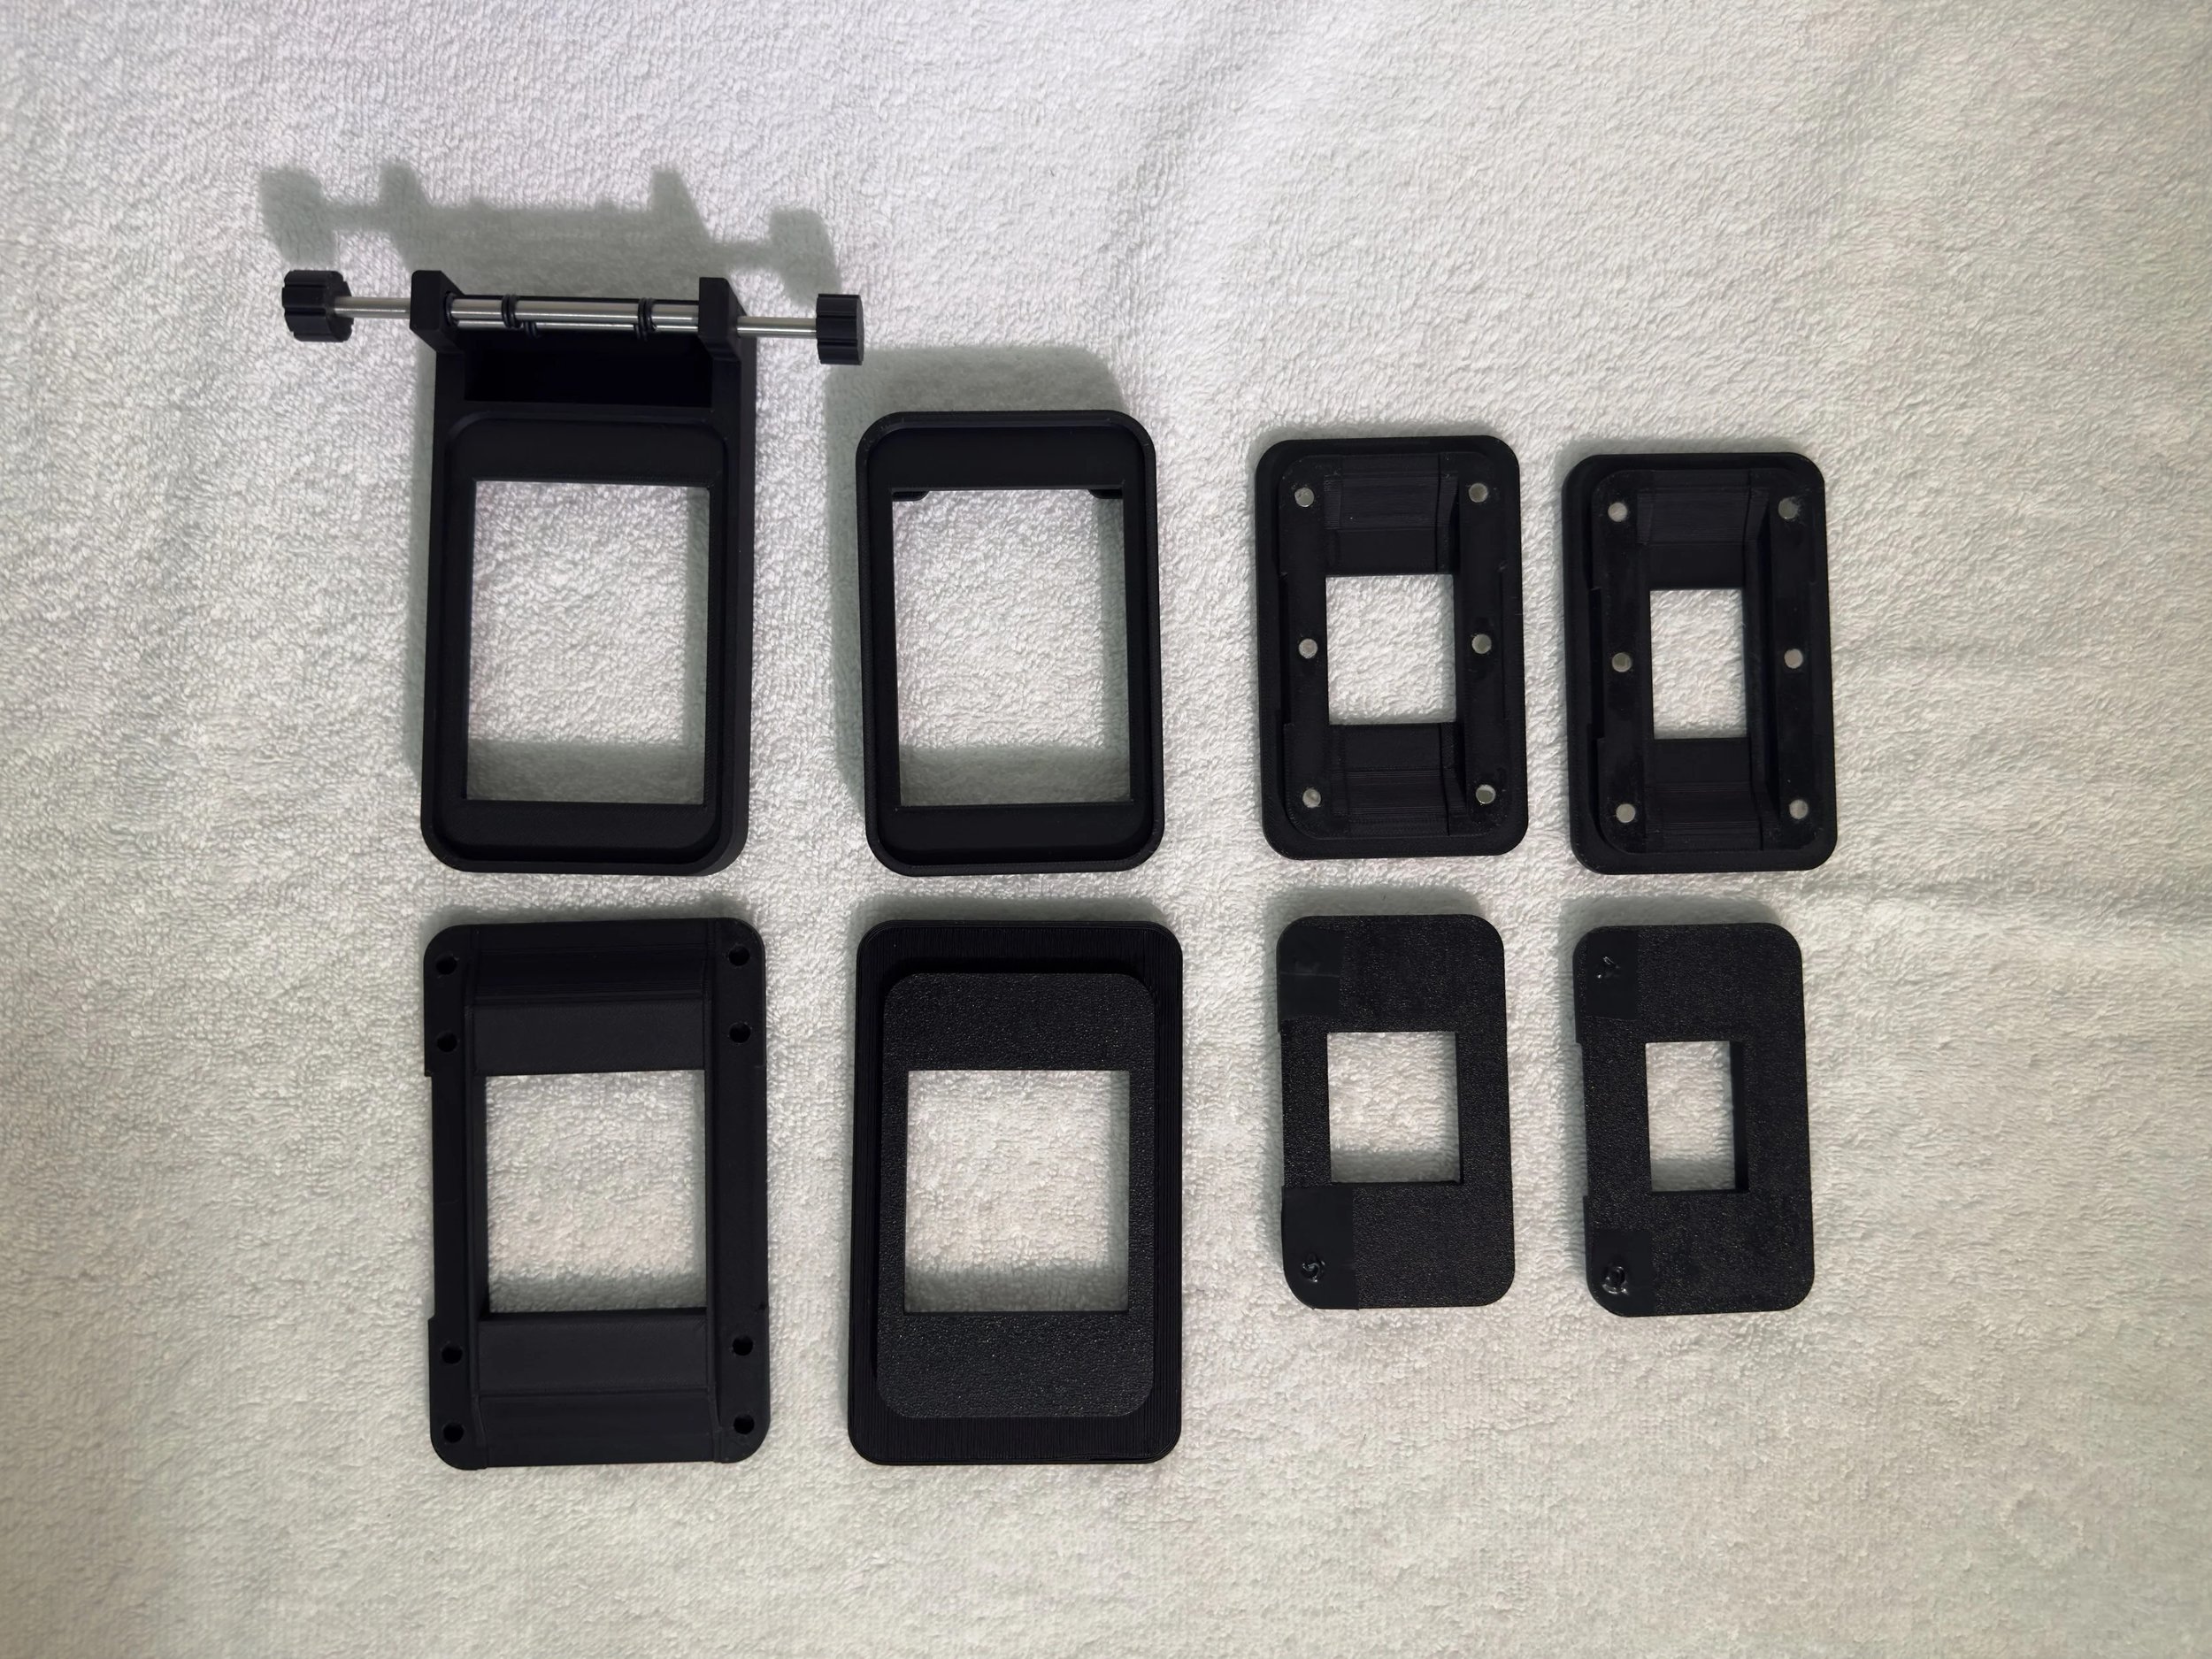
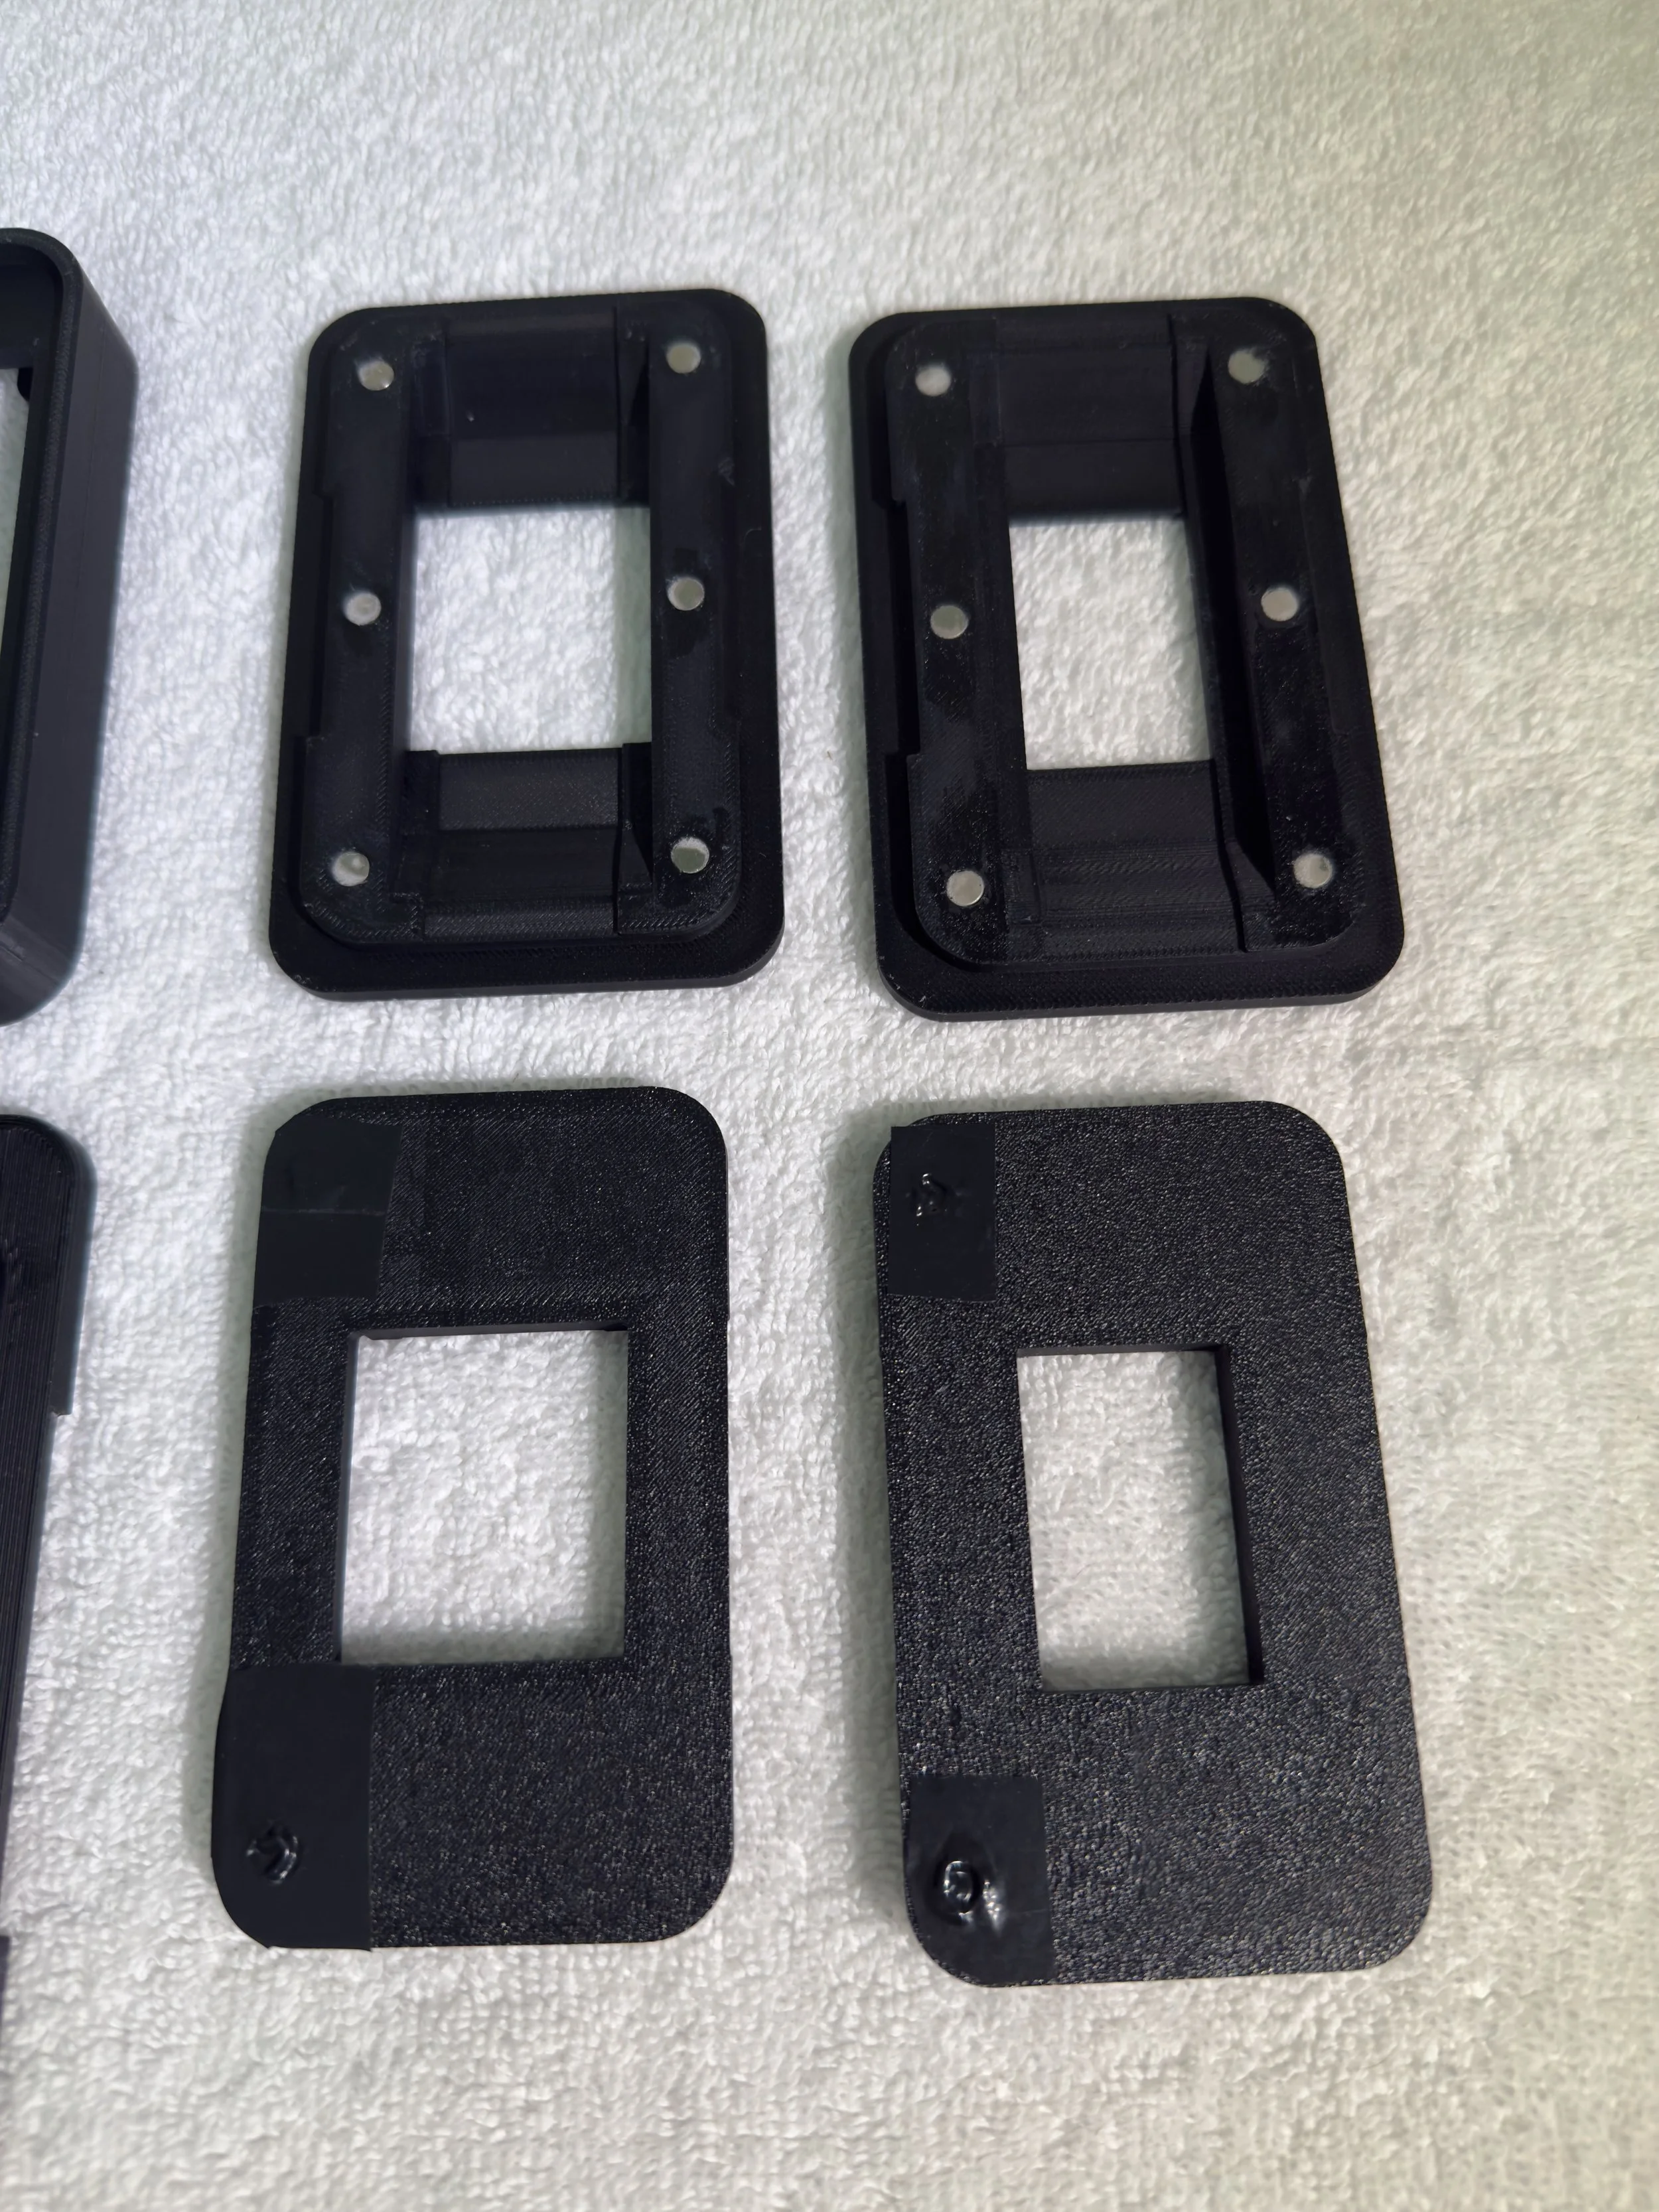
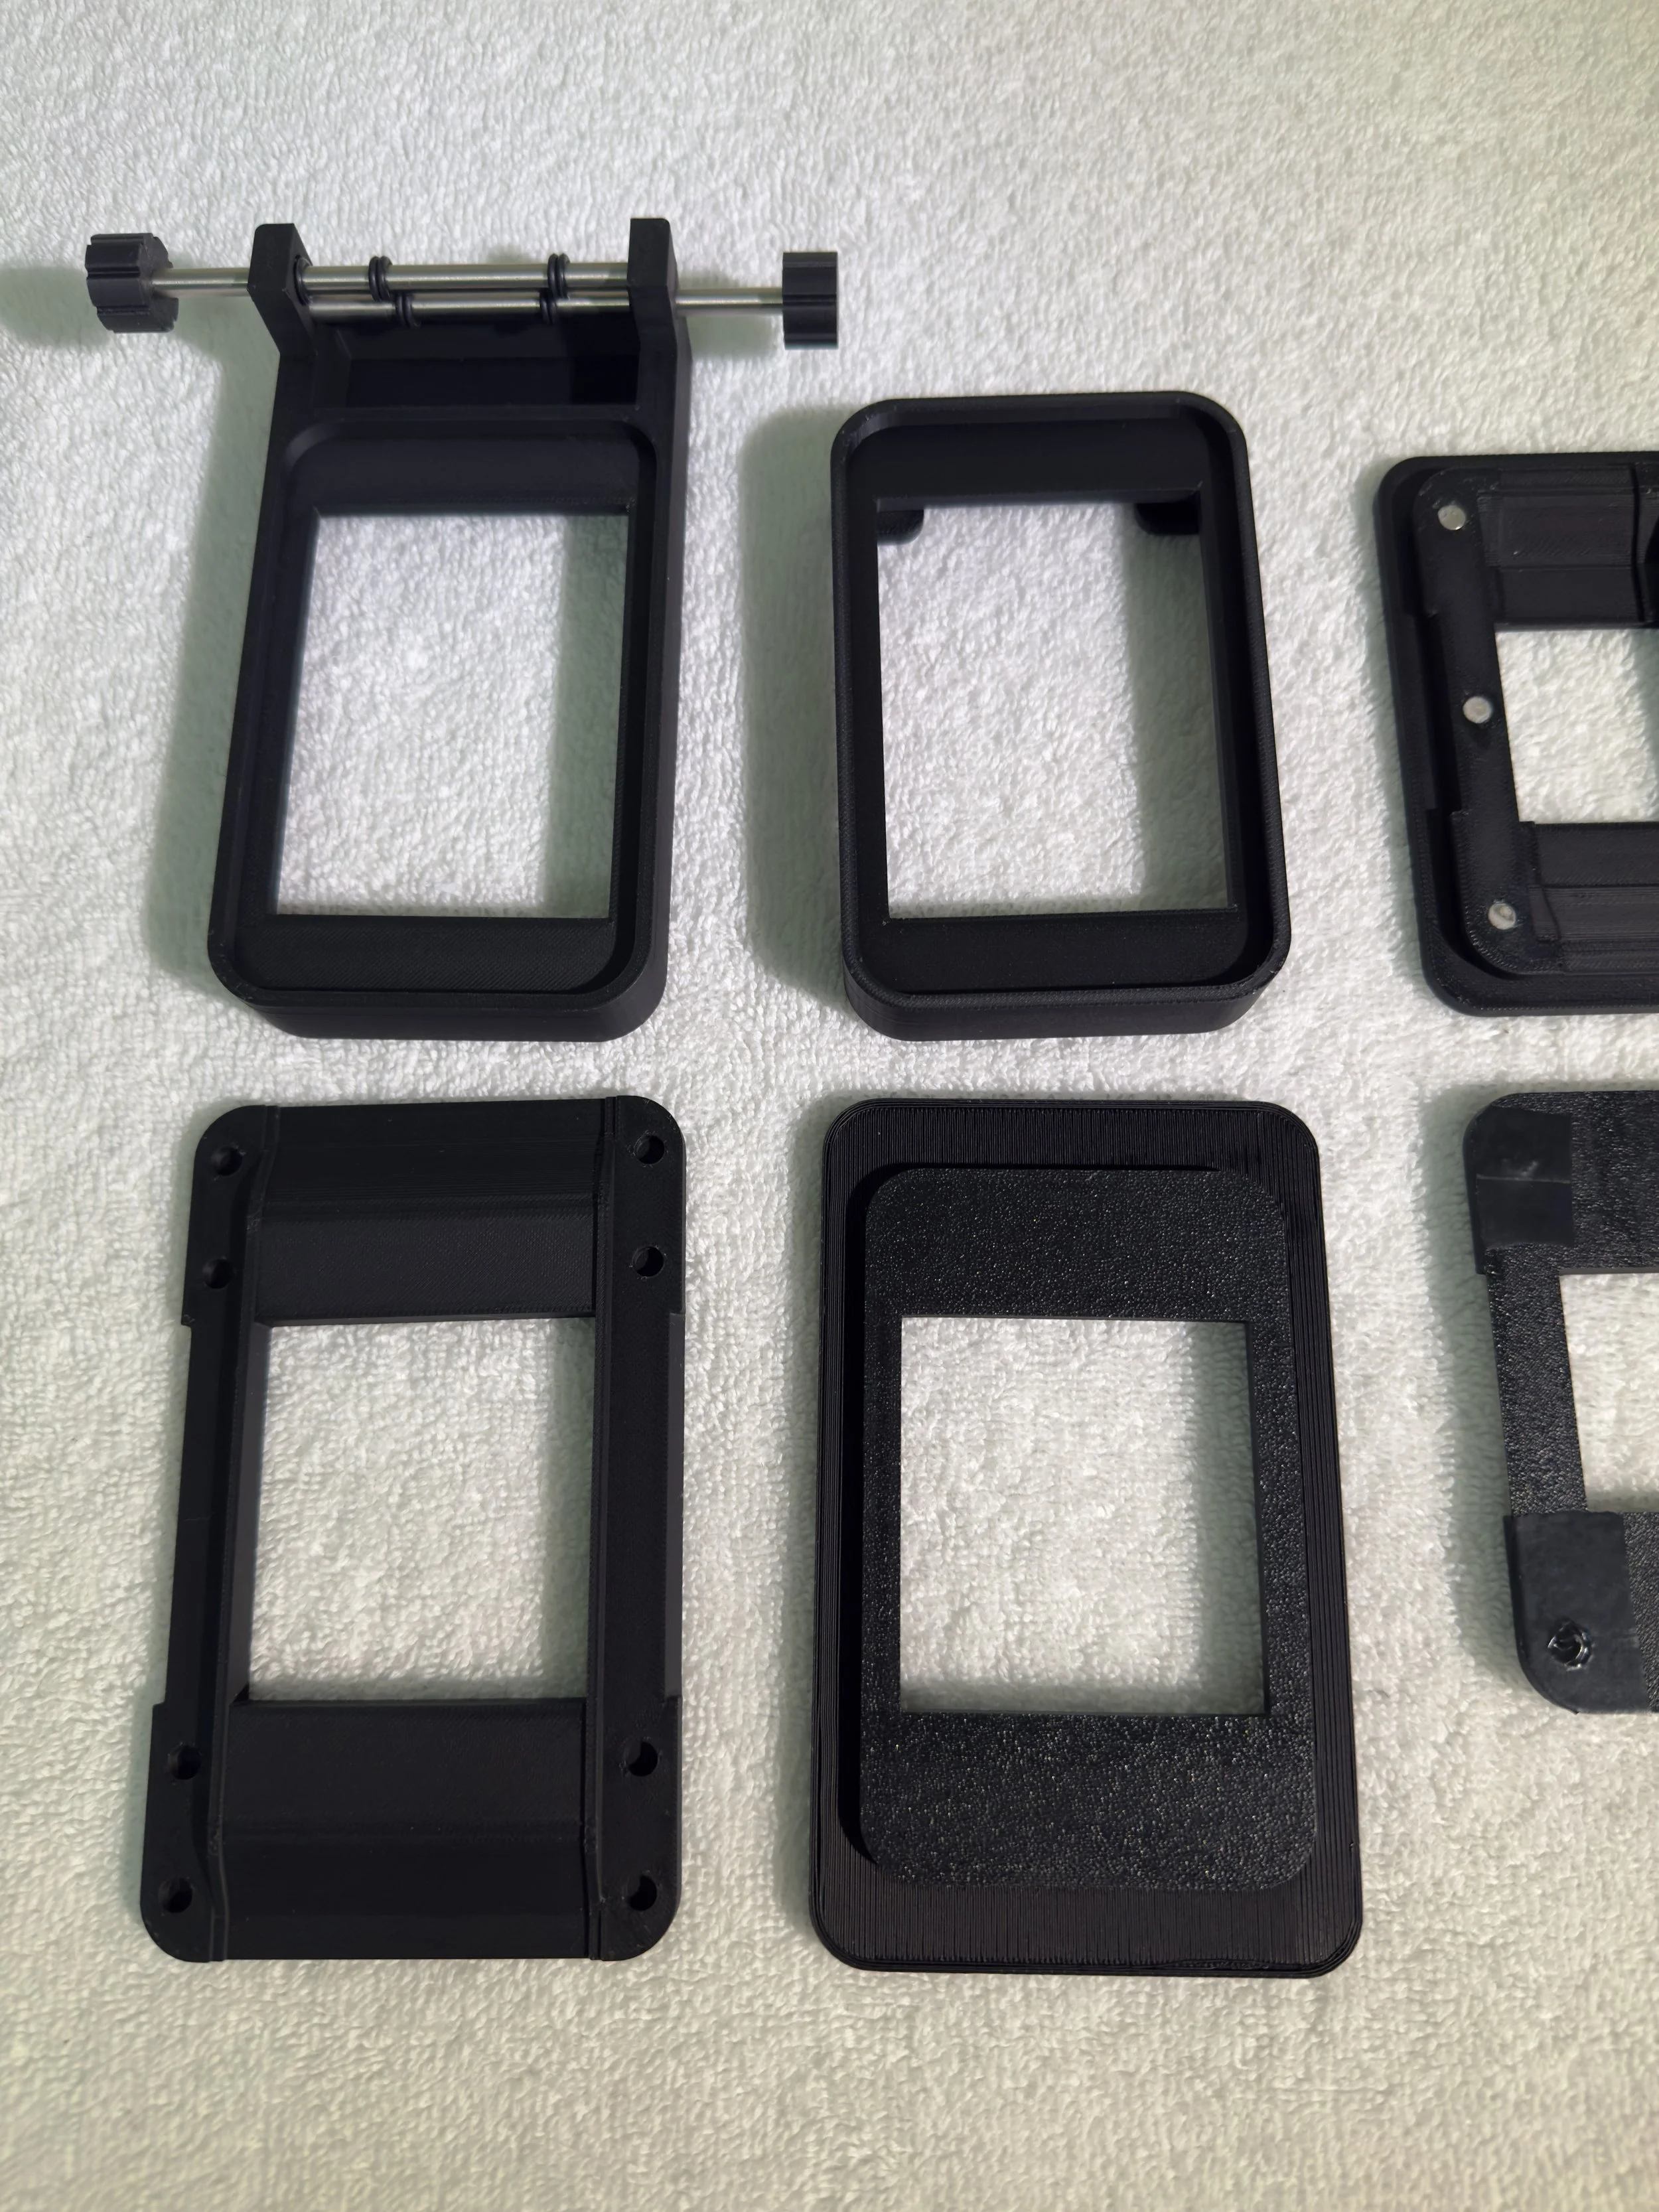
I printed all 35 and 120 options, the basic base, and the base with the advance rollers.
I wanted to love the advancing system, but it was more finicky than helpful.
The Reality
Once I started using the holder, a few challenges became clear:
Flatness was inconsistent — some film curled or bowed between supports. This will cause focus issues across the image.
Light leaks — it was difficult to keep light from entering through the sides of the holder.
Alignment required constant attention — I had to manually square each frame before scanning.
DUST collection — the plastic surface seemed to attract debris more than I expected.
Print quality — printing multiple variations wasn’t cost-friendly and the roughness (caused by the settings I chose) scratched the film.
Difficulty loading — the film entry point was restrictive and tricky to use, whether the lights were off or on.
Despite these issues, the experience was valuable. I learned quickly that a good film holder needs to be rigid, well-sealed against stray light, and easy to load while keeping film perfectly flat. Emphasis on easy to load.
Choosing a Light Source
I’ll be honest, I tried researching light requirements and quickly got overwhelmed by science. I chose the Daylight LED Light Pad, A4 Ultra-Thin — a slim, bright, and color-consistent panel designed for sketching and viewing negatives.
What I like about this light:
Bright, even illumination with minimal heat
Adjustable brightness levels for different film densities
Neutral daylight color temperature that reduces post-processing corrections
What I don’t like about this light:
It’s large. The size of the light pad dwarfs the film holder and causes tons of stray light to leak into the lens.
That’s it…honestly, it’s a good light source.
First Test Scans
With the 3D printed holder, new LED light pad, Nikon 55mm f/2.8 Micro-Nikkor, PK-13 extension tube, and Canon EOS M6 Mark II, I scanned a few frames from Kodak Gold and Ilford HP5.
What Went Well:
Sharpness — the lens delivered exceptional detail.
Exposure control — shooting in manual mode kept scans consistent.
RAW workflow — capturing in RAW gave me flexibility for adjustments.
What Didn’t:
Dust — static-prone surfaces and gaps in the holder made dust control a constant battle.
Frame alignment — small shifts slowed down the process.
Film loading — the pain of loading this film carrier truly bombarded my enjoyment of the process.
Even with the imperfections, seeing my first scans from a DIY setup was incredibly satisfying. The results weren’t perfect, but they were mine — and a clear step toward building a better system.
The process has changed a lot since these first few scans, so I won’t share any (…sorry), but there’s more to come!
What’s Next
In the next post, I’ll explain why I sold the Canon EOS M6 Mark II, the camera I replaced it with, and how switching gear mid-process forced me to rethink my setup.
See you in Post #4!
— Steven
Hollyridge Photography
Follow us on Instagram or Facebook. Check our Print Shop for prints and our Etsy Store for digital downloads.